My Gardening Journey – Seed Starting Indoors 101
My family and I have been seed starting indoors for years now. It is such a fun activity to do with the kids. Plant the seeds, water them, give them sun and watch them grow! The Easter Bunny usually gives them a seed starting kit and it’s even more exciting to grow their very own vegetables.
Not only is planting seeds fun for the whole family but it allows kids to see where their food comes from and how it grows. When children are active in the whole process from seed starting to vegetable growing, it also encourages them to experiment more with their veggie intake and to learn to cook in the kitchen.
In this article, you will learn 8 simple seed starting steps on how to successfully grow seedlings indoors. Once the seedlings grow and outdoor temperatures are suitable, steps 9 and 10 will guide you to what comes next.
Eco-friendly Seed Starting
We prefer to keep things as eco-friendly as possible. I wanted to use a more eco-friendly indoor seed starting system, but after Covid-19 hit, I made a quick trip to Home Depot and bought a greenhouse kit. It actually worked well for us. And it is something we can reuse year after year. All that will be needed is to purchase additional peat pellets.
As the seedlings grew, I used what we had around the house to repot the plants. Most of which can be reused year after year as well. I will recycle the cans but keep the plastic containers and relabel them next year. As I did for some of the plastic cups we had from last year.
I may change my plan a bit for next year and plant the warmer weather plants, such as tomatoes and cucumbers that are not planted outdoors as early, in larger the larger size peat pellets so they do not have to be transplanted again indoors. I have also found that they sell different sizes of peat pellets and can vary depending on the vegetables grown.
Another great option for eco-friendly seed starting indoors is to use biodegradable pots or seed starting trays and kits. These can be planted directly into the ground when transplanting outdoors and can help reduce the risk of transplant shock and root disturbance.
Seed Starting Indoors
- MAKE A PLAN
For a little back story on my gardening experience, please check out My Gardening Journey – 3 Essential Tips for Vegetable Gardening.
As mentioned in that article, start by searching online for a planting calendar in your area. This one from The Old Farmer’s Almanac has been very helpful for me, but there are many others to choose from as well. Enter your zip code to get more detailed information for your specific area.
Urban Farmer also has a useful vegetable planting schedule on their website. Search by hardiness zone or by state and you will get a planting guide for spring and fall crops.
Along with the online source, check the seed packets for instructions and dates. Some packets will tell you if it is best to start seeds indoors or outdoors, when its best to start, how deep to plant the seeds, and spacing of the seeds and rows. In general, start planting seeds indoors 4-6 weeks before the last frost date.
Plan what seeds you will be planting and where they will fit in your gardening space. I like to draw out plans on paper of my garden so I know what seeds will need to be planted and where they will go.
Visit our article, How to Start and Care for a Garden in 11 Simple Steps for more information on garden planning, preparation, and care.
- PLANTING SOIL AND CONTAINERS
Be sure to purchase a good potting soil for starting your seeds if using individual containers. We used the peat pellets this year and really enjoyed the process. It was fun for the kids to watch them grow, it was less time consuming and not as messy to fill the individual pots, very easy to water and they can be planted directly into the ground or into larger containers or pots.
It is not necessary to purchase new containers for seed planting. Use what you can find around the house and can be reused each year. We used yogurt containers, plastic cups, and ½ gallon cartons cut in half. Puncture holes in the bottom of the containers for water drainage and absorption. As I said above, we ended up transplanting many of our plants before they were ready to go outside because we used the small peat pellets for starting all of our seeds and they needed more room to grow.
Another great option is to purchase biodegradable seed starting pots. There are a variety of sizes and can be planted directly into the ground.
- MOISTEN SOIL
If you are using individual pots or containers, gradually add warm water to the soil until a good crumbly and moist consistency is reached. Make sure it is not too wet. If possible place the soil in a large bin, mix the water in the soil and then fill the individual containers.
When using the peat pellets, place them in a plastic bin or tray, add warm water and watch them grow. They will be tall and dark brown in color when they are fully grown. If any water remains in the bottom of your container, drain it off.
- PLANT SEEDS
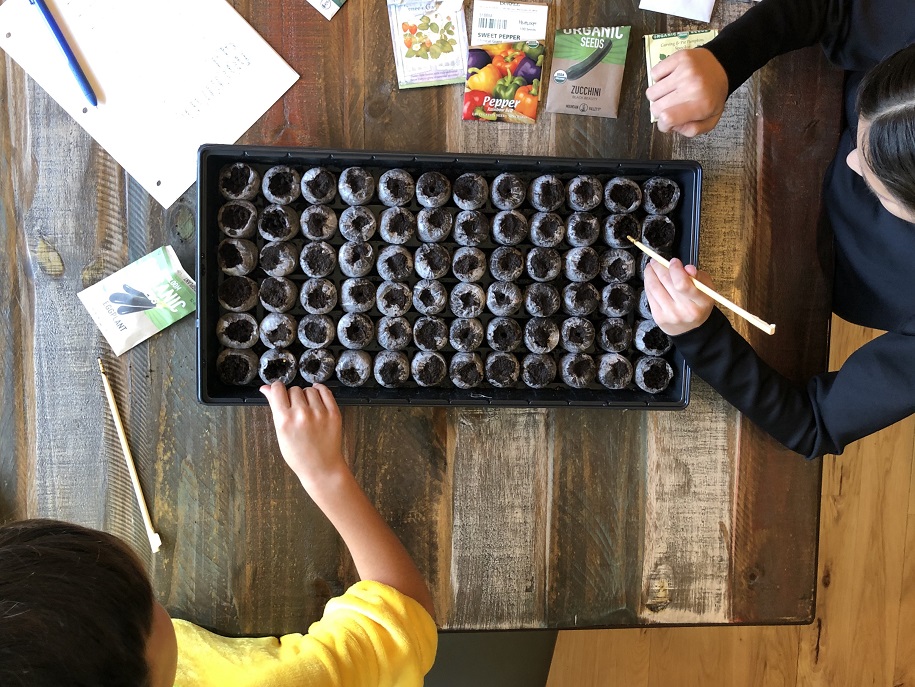
Check the seed packet directions for planting depth. Place 2-3 seeds in each pellet or container and cover lightly with soil. When using peat pellets, loosen the netting around the top and fluff the soil before planting the seeds. We used chopsticks to loosen the netting, fluff the soil, and cover the seeds. A pencil would work fine too.
Label your plants! Make a chart if you are using a tray. I labeled the actual tray so I knew where the top was and created a chart on paper and wrote everything down as we planted the seeds. Use label markers for pots or write on reused containers or cups.
- COVER PLANTED SEEDS
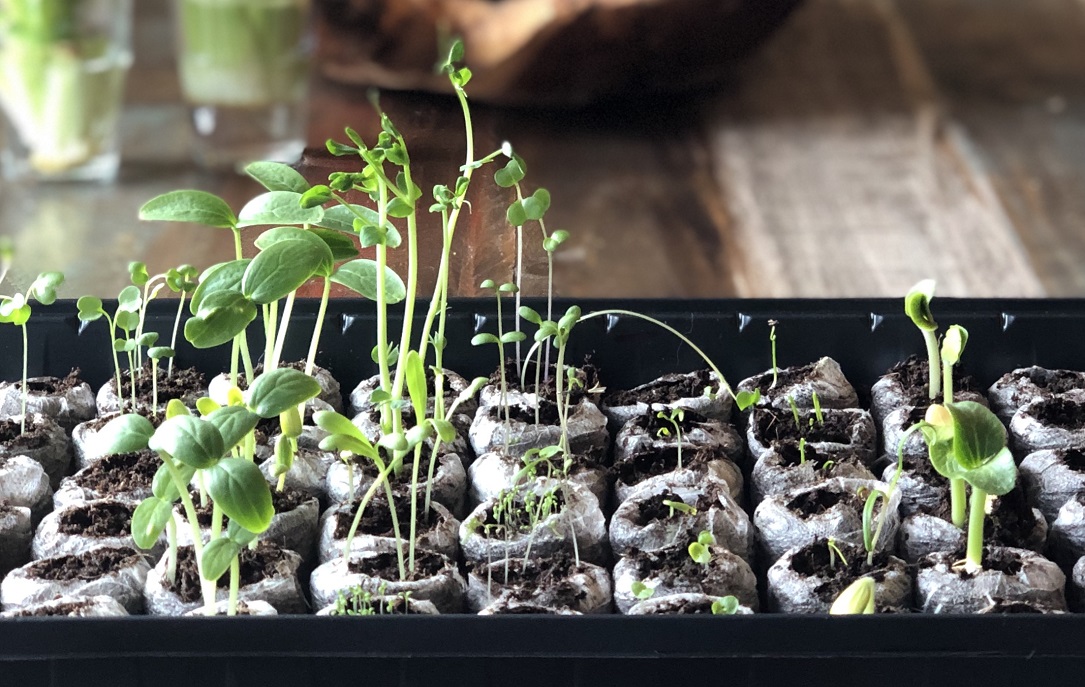
Place the planted seeds in a warm area away from direct sunlight. Cover them with a clear dome lid for a greenhouse effect. Once the seedlings have started to sprout, adjust the lid to allow for more airflow. Fully remove the lid once the seedlings have reached the top and place in direct sunlight.
A seedling heating mat is another item gardeners use to keep the seedlings warm as well as overhead grow lights. Overhead grow lights help to grow stronger more full plants rather than leggy plants that may be reaching and growing towards the sunny window while growing. I do not have experience with these but perhaps will be a possibility in the future.
- WATER SEEDLINGS
Be careful not to overwater the seedlings. A good indication that your seedlings need water is when the soil at the top of the pot or pellet has turned light brown.
The easiest method is to pour water in the bottom of the container or tray you are using and allow the seedlings to soak up water from the bottom. The seedlings have had enough water when the soil has returned to a dark brown color. Drain off the excess water from the bottom of the container once this happens.
Use a spray bottle to water the containers or pellets from the top. This is the most gentle way to water when the seeds and seedlings are young. This will help avoid any disturbances to the seeds or roots. When water is poured from a cup or water pitcher directly over the top of the soil, these problems may arise.
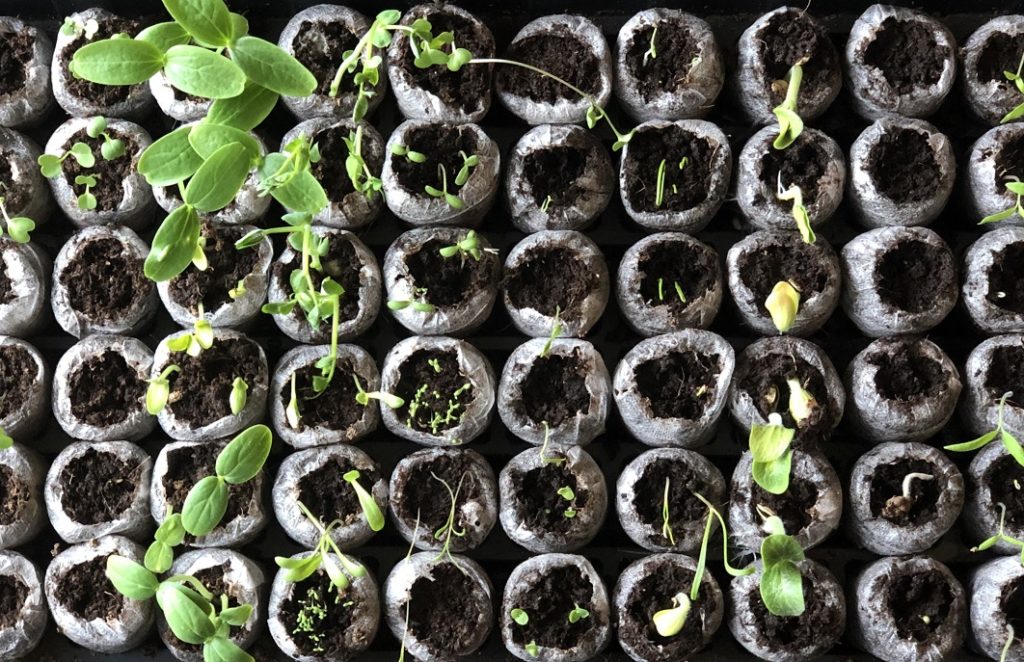
- THIN SEEDLINGS
The process of thinning seedlings is to keep the strongest plant and take out those that are smaller or weaker. This will allow one plant per container or pellet to grow strong with a good root system. If all seedlings are left in the same pellet, they will end up competing against each other and stunt their growth. Just as weeds do in the outdoor gardens.
Thin seedlings when they are 2-3 inches tall and have developed 2 sets of true leaves. The first set of leaves you see when the plant begins to sprout are not the true leaves and should not be included in the 2 sets.
Snip the unwanted seedlings right at the soil line so as to not disturb the root system of the healthy growing plant that was kept.
- TRANSPLANT SEEDLINGS INDOORS
This step is not always necessary but there are a couple of reasons you may need to transplant seedlings indoors. Number one: the seeds were planted too early and the seedlings are too big for their container. Number two: the seedlings were started in smaller containers or pellets and need to be transplanted into bigger containers before it is time to go outside.
An important point to note: it is not advised to start seeds in too large of a container because it will hold in too much moisture and not allow the roots to breathe. The roots need both air and water to grow properly. Therefore, transplanting indoors may be necessary for some of your seedlings depending on whether or not they can be transplanted outside.
- HARDEN OFF SEEDLINGS
Hardening off seedlings will gradually expose them to weather elements, wind, rain, sun, and temperature changes. This will help strengthen the plants to handle the elements once they are planted outdoors.
- TRANSPLANT SEEDLINGS OUTDOORS
After the hardening off process, the seedlings are now ready to be transplanted in the garden.
“There are no gardening mistakes, only experiments.”
Janet Kilburn Phillips
Gardening is a rewarding experience and a fun activity for the whole family. There are many successes and “experiments” along the way which will provide for much learning and growth. My gardening journey is far from over, but one I would love to share. I hope you are all as excited as I am. Get those seeds ready and let’s start planting!
We would love to hear your seed starting experiences. Please share below.
Gardening tips are always appreciated. Please leave them in the comments below.

4 thoughts on “My Gardening Journey – Seed Starting Indoors 101”