DIY Dried Orange Cranberry Popcorn Garlands
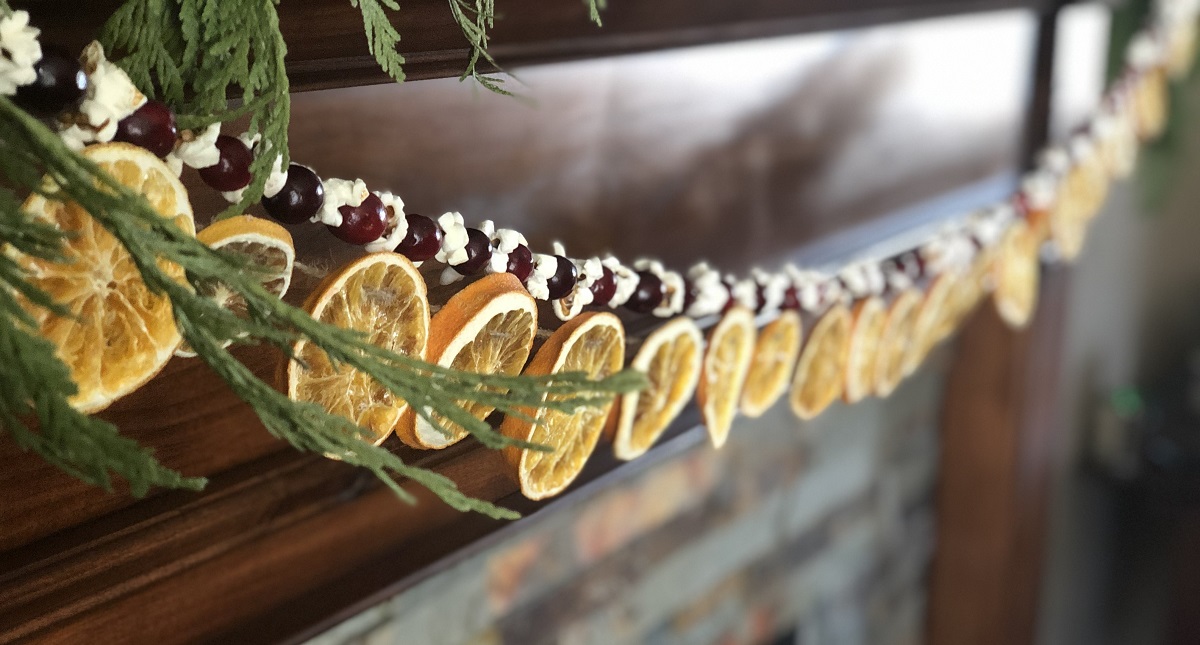
I have always wanted to string popcorn with my kids during the holidays and this is the first year we made it happen! The orange garland is so beautiful and brings such a warm natural element to the room. I thought it would be the perfect year to do both the orange and the cranberry popcorn garlands as the colors work so well together.
Luckily, my kids actually agreed on something (phew!). My daughter made the cranberry popcorn garland while my son made the orange garland. We were able to use a thicker needle and twine for the orange garland.
I did have some dried lemons in the mix as well but they were falling apart with the thicker needle used for the oranges, so my son decided to do all oranges on his with a couple of little lemon pieces on the end. See if you can spot the little lemon piece in the picture above.
The dried orange cranberry popcorn garlands are a great craft to do with the whole family. They provide a warm element to any home or space. The best part of it all is that it is eco-friendly and everything can be composted when the garlands are no longer needed.
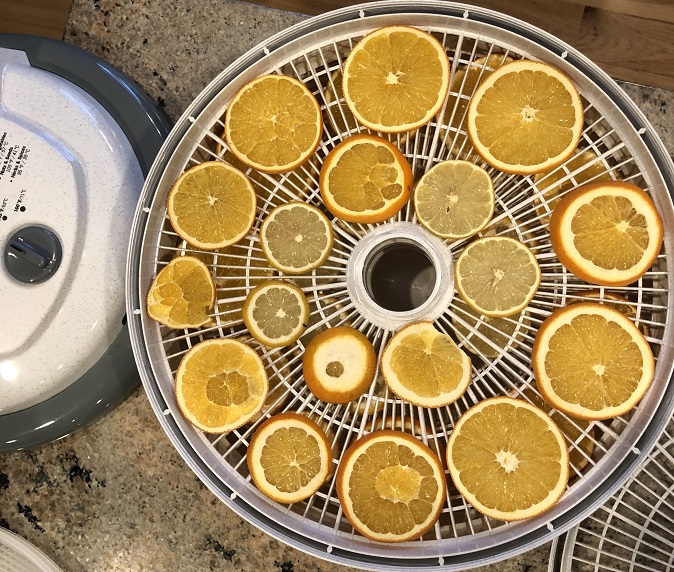
Table of Contents
Dehydrating Oranges
I started this a few weeks ago by dehydrating the oranges and lemons. I used our dehydrator but you can also use the oven at a very low temperature.
- 2 large oranges for a 55-inch garland (I dried 3 oranges and 1 lemon and had plenty of leftover pieces). Cut off the ends of each orange. Reserve these to the side and see the last section of this article for ideas on how to use them.
- Cut the oranges ¼ inch thick. Keep them as even as possible.
- Dehydrate using the dehydrator: Times will vary depending on the type of dehydrator you use. My dehydrator seems to take longer than what it suggests. Almost double. Please refer to your manual for instructions.
- Dehydrate using the oven: Line baking sheets with a silicone baking mat or parchment paper. Pat both sides of the oranges with a towel. Bake at 250 degrees (F) for about 3 hours. Flip the orange slices about every hour until dried and crisp. You can also dry at a lower temperature of 200 degrees (F) for about 4 hours. Make sure to flip every hour.
Once they are dry, place them on drying racks. I left mine out for quite a few days after and kept them on the counter until we were ready to use them. You can also store them in a mason jar. Just make sure they are fully dried out to avoid any mold growth.
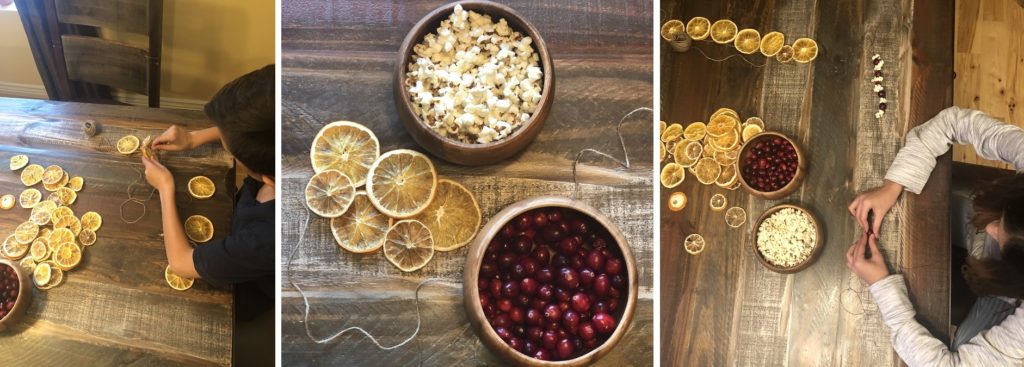
Assembling the Garlands
Items needed:
- 1 yarn needle
- 1 roll of twine
- 1 small sewing needle
- Thread, any color. We used red.
Orange Garlands:
- Measure the space you will be using the garland in to make sure you cut enough twine for your garland. Leave at least 5 or more inches on each end to secure your garland in that space once it is complete.
- Thread the large yarn needle with twine. Using the basic running stitch, secure the orange pieces onto the twine. Be very gentle and careful with this process. If too rough, the orange pieces can puncture through and come apart.
- There wasn’t any need to tie knots in the twine at each end as the oranges were very secure once they were placed on the twine. Be sure to leave at least 5 inches of twine at each end of the garland.
Popcorn Cranberry Garlands:
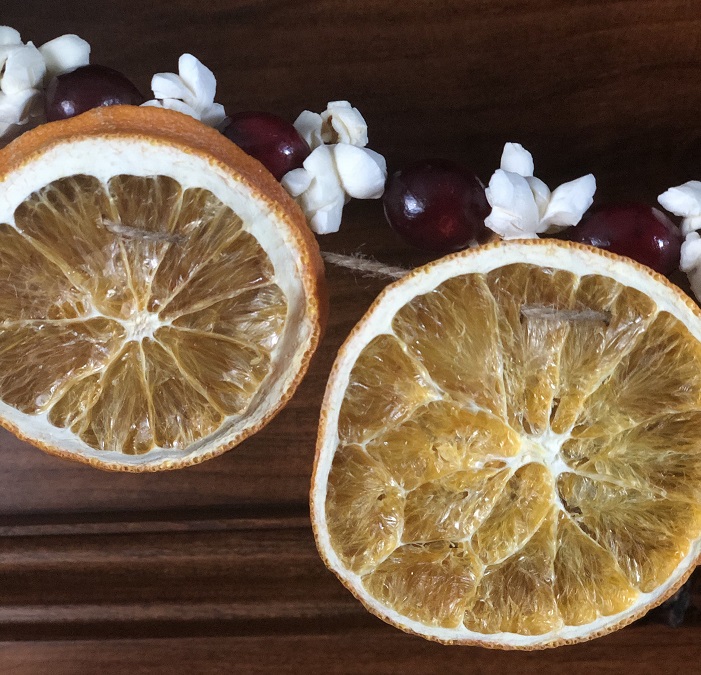
- Once again, measure the space you will be using the garland in to make sure you cut enough twine for your garland. Leave at least 5 or more inches on each end to secure your garland in that space once it is complete.
- Thread the small sewing needle with the thread. Double up the thread to make the garland more sturdy and strong. You may not need to do this next step, but it may be beneficial when working with children, so items don’t slide off the end of the string.
- Tie a knot at the end of the thread. I had to tie quite a few to make it big enough so the cranberries and popcorn don’t slide off. Be sure to leave at least 5 inches on the other side of the knot.
- Then using any pattern of your choice, string on the popcorn and cranberries until you reach the desired length. My daughter decided to alternate with one piece of each.
I love the way these garlands turned out and the kids had fun making them. After the holidays, I am planning to hang the orange garland in one of our windows. It will look beautiful with the sun shining through.
What to do with the dried orange ends?
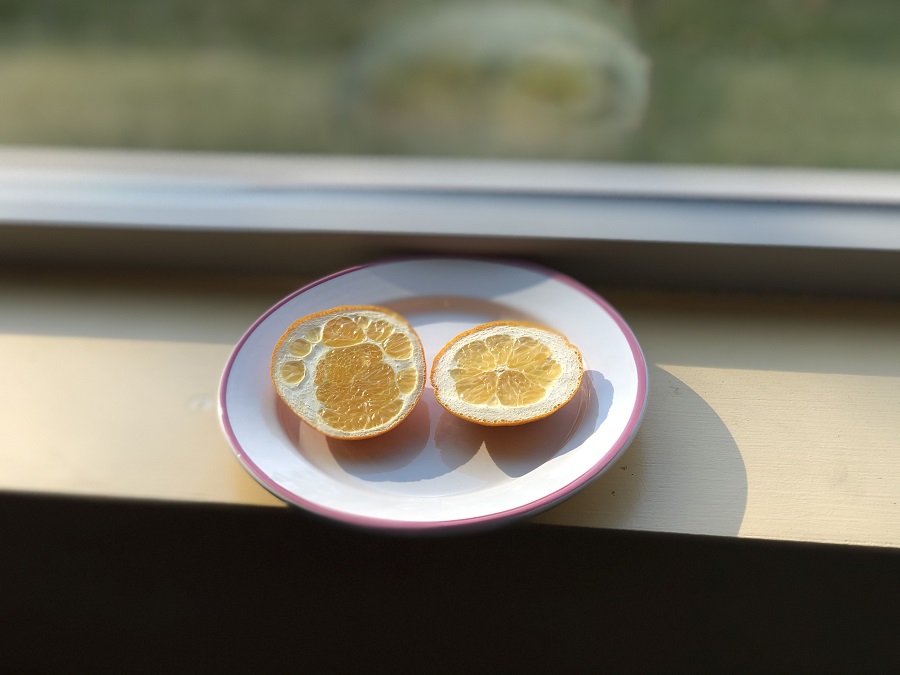
I learned a fun trick when I worked for a Waldorf school in the early childhood program. You can dry the orange ends on a plate in the window sill for quite a few days until dry. It really doesn’t take long but is fun for the kids to see the process and how they change over time.
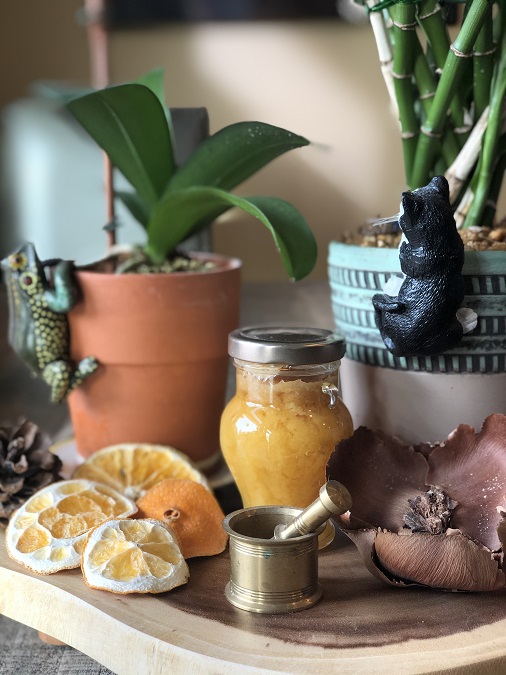
When they are fully crisp and dry, use them in the children’s play area. We would place them in the wooden kitchen for them to discover during their next playtime. The children loved using them in recipes for their “play” food along with acorns, acorn tops, pine cones, and any other fun items found in nature.
My kids are older now and do not use play kitchens anymore. Oh, how I miss those days! But I still like to dry them and use them as fall festive decor. When we are done, they can be composted. There is nothing like nature decor!
Have you made any fun fall/winter nature crafts with the kids this season? Please share below!


Absolutely love this post. I have always wanted to do dried oranges and plan to this coming Christmas. You have a gorgeous site!
Thank you so much! I hope you are able to make the dried oranges this coming holiday season. If you do, please send me a picture. I would love to see how it turns out!