DIY Dried Lemon-Lime Garland for Spring and Summer
Looking for natural home decor? The DIY Dried Lemon-Lime Garland will make a beautiful addition to any home. This craft is simple, easy to make, and fun for the whole family.
During this past holiday season, we made DIY Dried Orange Cranberry Popcorn Garlands and absolutely love how they turned out. Since then, I had the idea of drying lemons and limes for a spring/summer citrus garland.
I decided to make a video tutorial for this garland. Please check it out!
My original idea was to use spring flowers mixed in with the citrus, however, spring has come and gone so we used a small bundle of flowers we found in our yard and tied them at each end of the garland.
Next spring, I would love to add the spring flowers to the garland or even make an entire garland out of spring flowers to hang up with it.
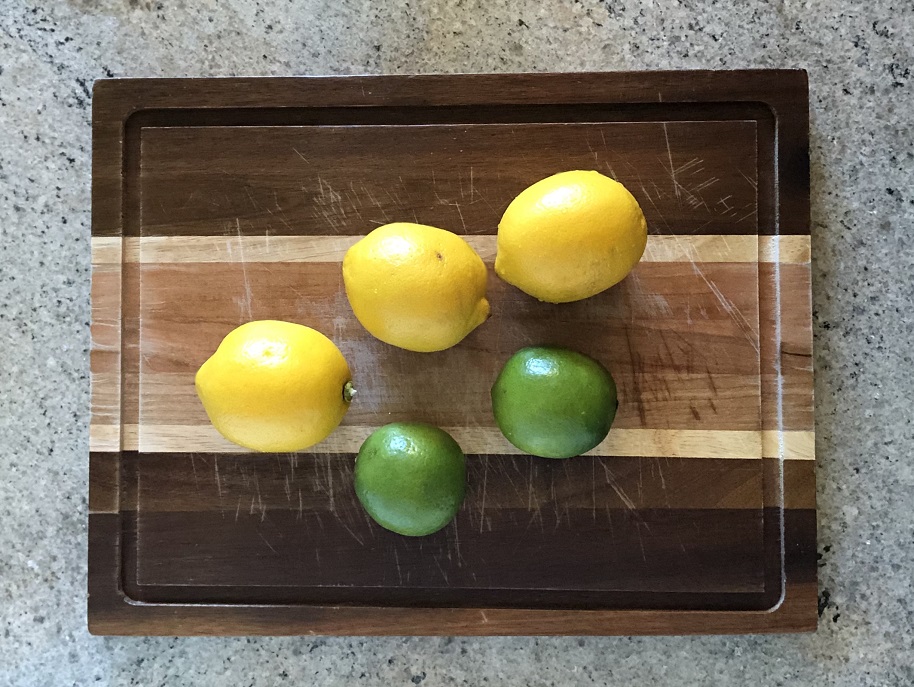
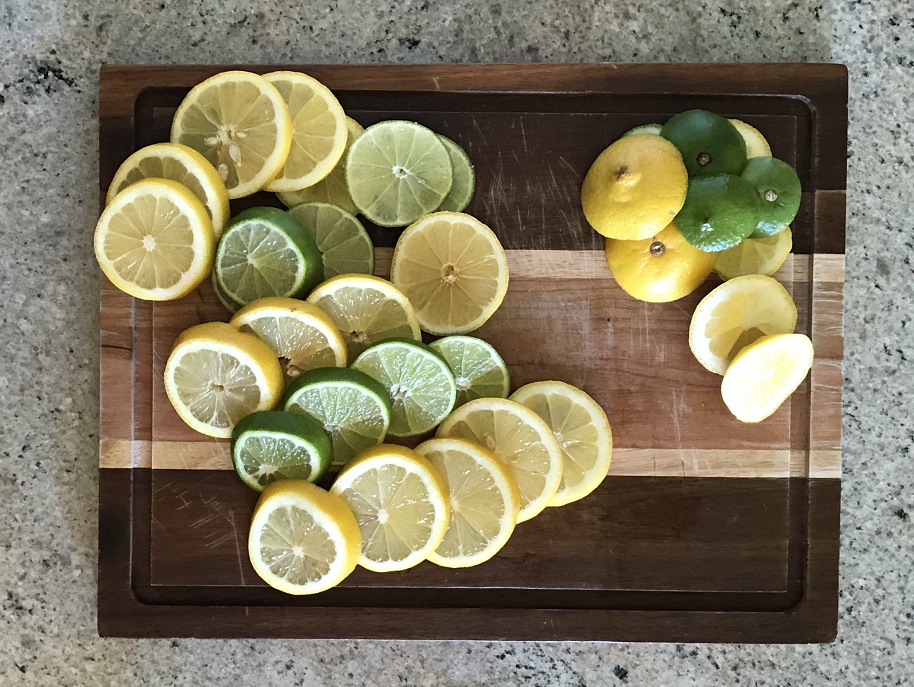
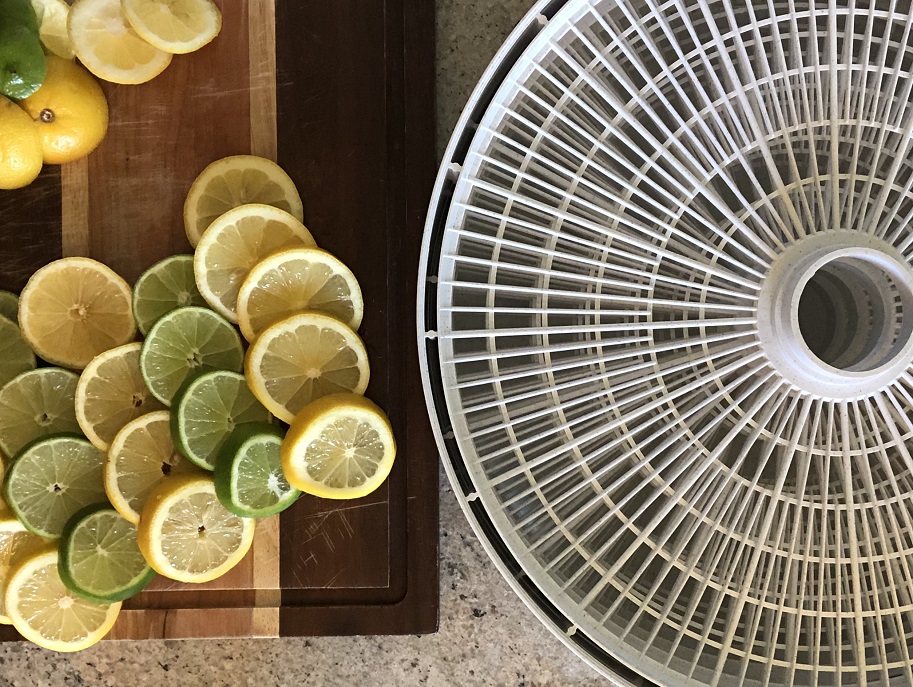
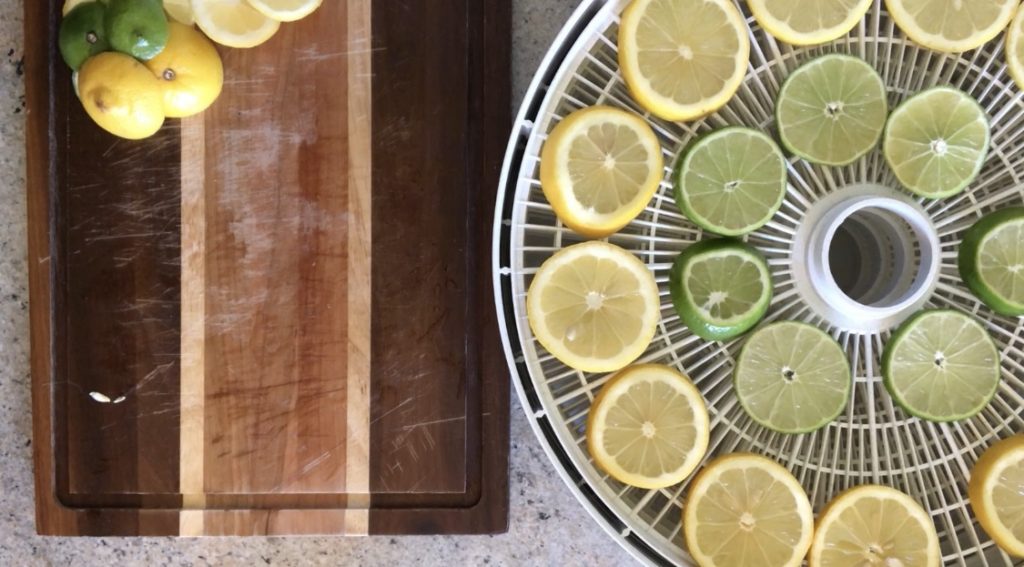
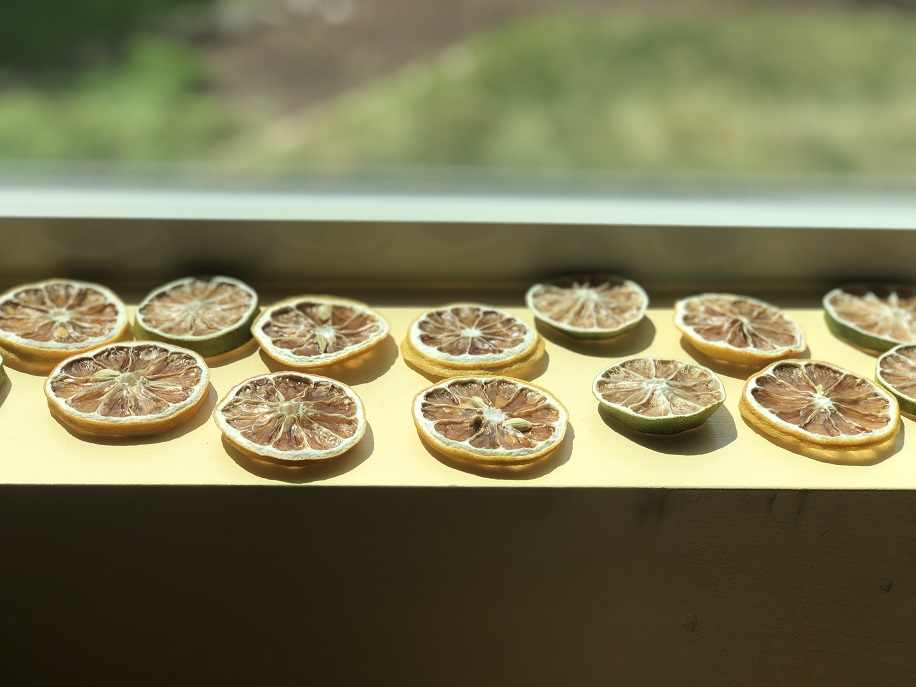
Table of Contents
Dehydrating Lemons and Limes
Plan the drying process a week ahead of when you want the garland to be completed to ensure the lemons and limes are completely dried before you begin.
I used our dehydrator but you can also use the oven at a very low temperature.
- 3 lemons and 2 limes for a 55-inch garland. (The total length of the garland was 60 inches with the added flowers). Cut off the ends of each lemon and lime.
- Cut the citrus ¼ inch thick. Keep them as even as possible.
- Dehydrate using the dehydrator: Times will vary depending on the type of dehydrator you use. My dehydrator seems to take longer than what it suggests. Almost double. Please refer to your manual for instructions.
- Dehydrate using the oven: Line baking sheets with parchment paper. Pat both sides of the citrus with a towel. Bake at 250 degrees (F) for about 3 hours. Flip the lemon and lime slices about every hour until dried and crisp. You can also dry at a lower temperature of 200 degrees (F) for about 4 hours. Make sure to flip every hour.
Once they are dry, place them on drying racks. I left mine out on a sunny windowsill for quite a few days after and kept them out on the counter until we were ready to use them. You can also store them in a mason jar. Just make sure they are fully dried out to avoid any mold growth.
Don’t Waste Those Ends!
- Use the lemon and lime ends for a refreshing lemon-lime beverage.
- Dip the ends in salt or baking soda and use it to scour your sink or stove-top.
- Slice them into pieces and add small amounts to freshen up the kitchen disposal.
- Dehydrate them and use them as additional home decor. See our display at the end of our DIY Dried Orange Cranberry Popcorn Garlands article.
Assembling the DIY Dried Lemon-Lime Garlands
Items needed:
- 1 yarn needle
- 1 roll of twine
- scissors
Lemon-Lime Garlands:
- Measure the space you will be using the garland in to make sure you cut enough twine for your garland. Leave at least 5 or more inches on each end to secure your garland in that space once it is complete.
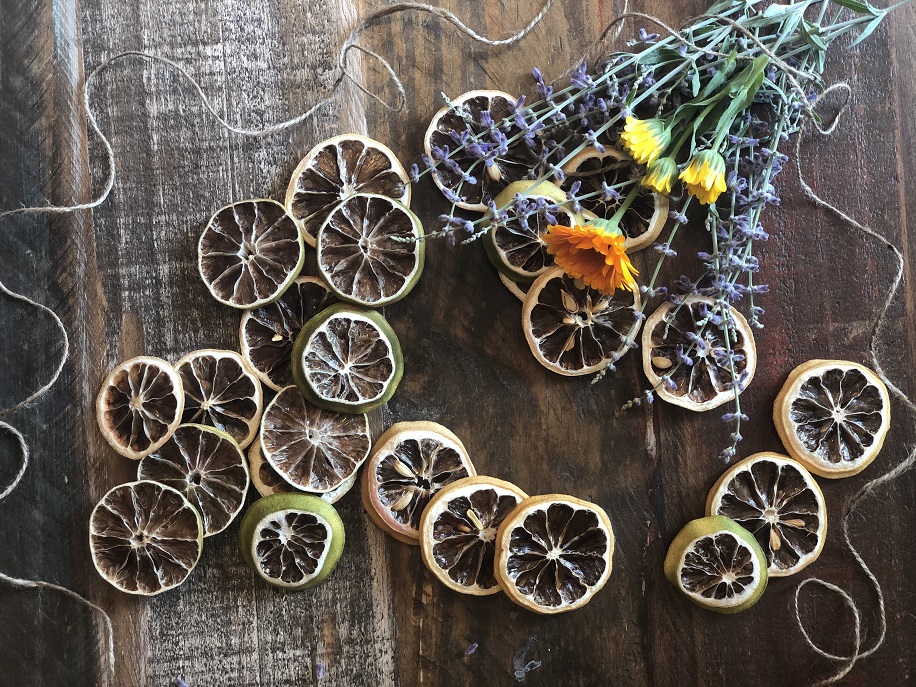
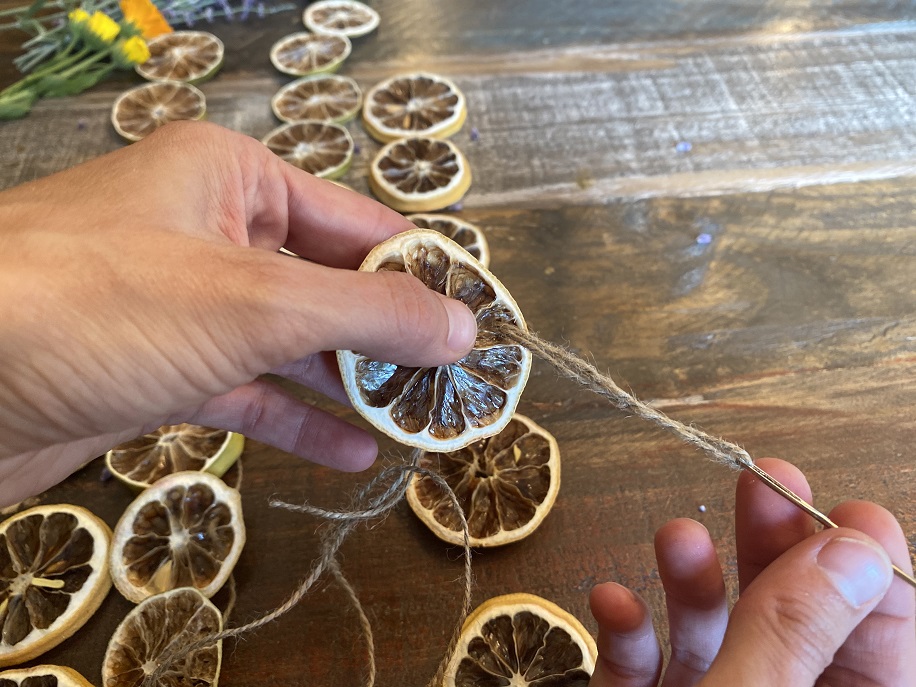
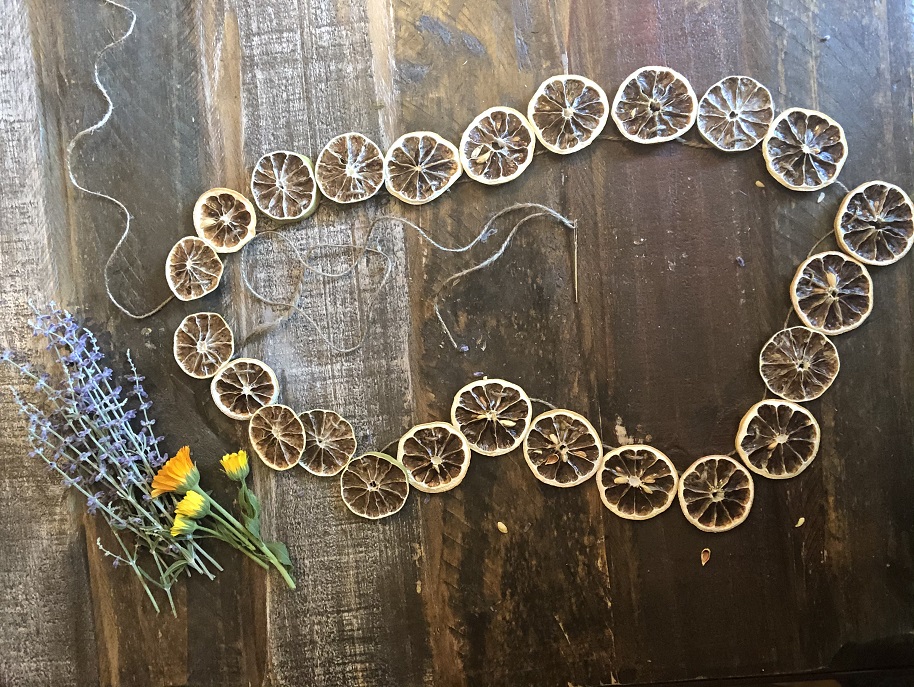
- Organize the citrus pieces and place them in the order you would like them displayed on the garland. I like to use the smaller pieces at the ends and the larger pieces in the center.
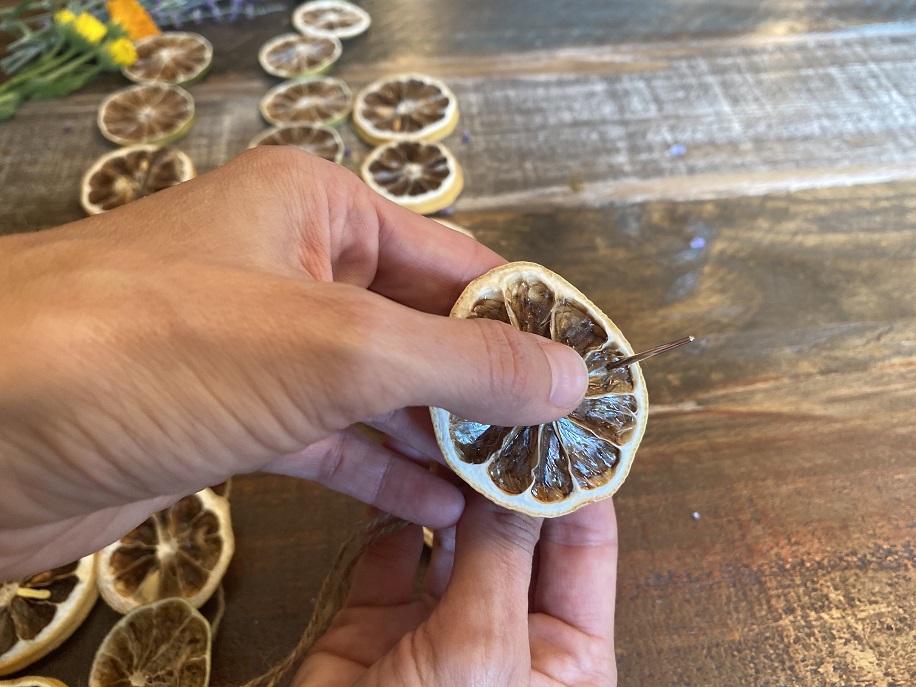
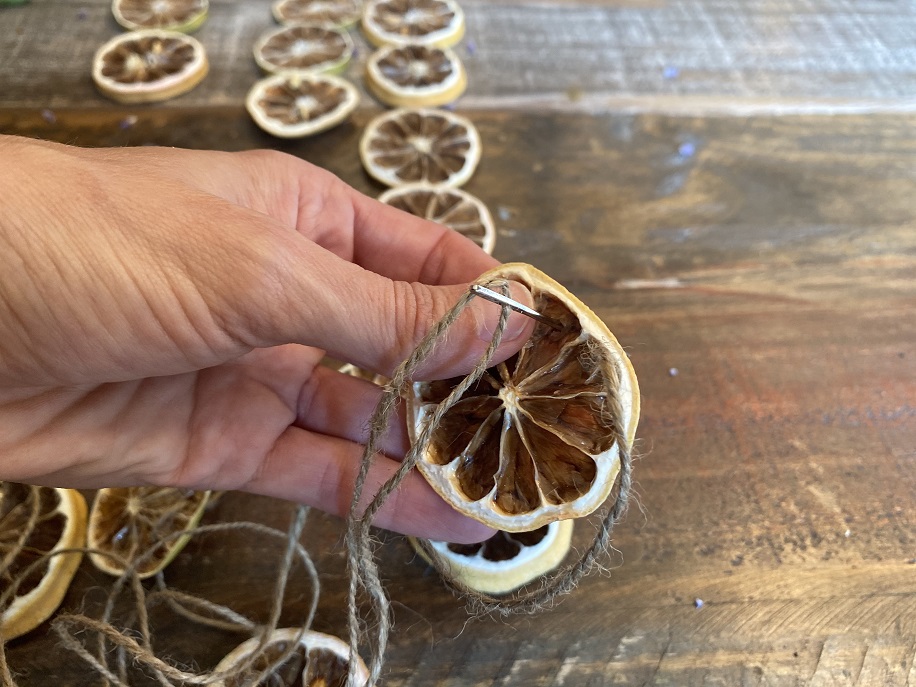
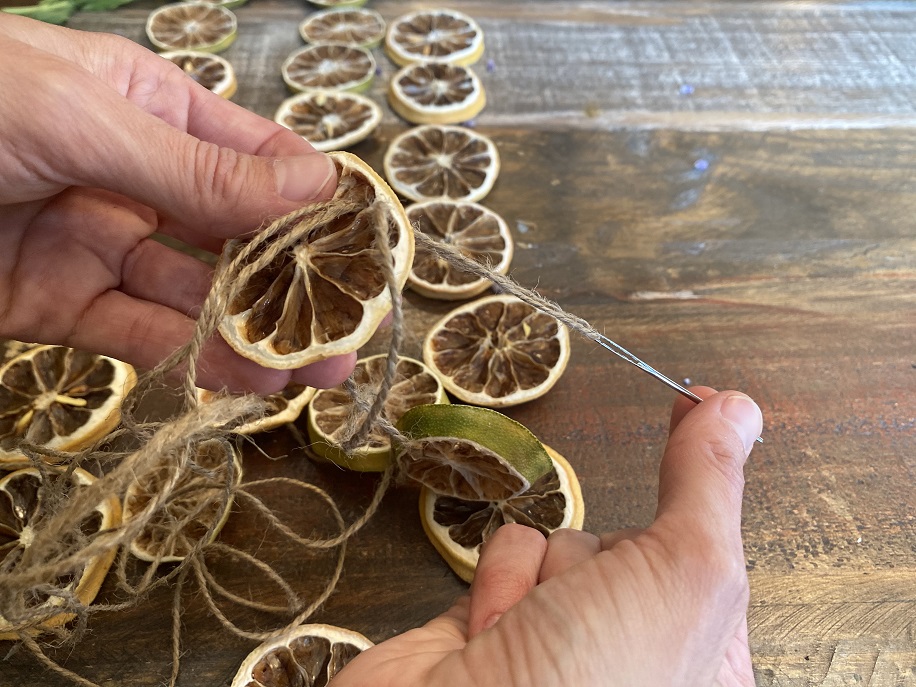
- Thread the large yarn needle with twine. Using the basic running stitch, secure the citrus pieces onto the twine. Be very gentle and careful with this process. If too rough, the dried citrus pieces can puncture through and come apart.
- There wasn’t any need to tie knots in the twine at each end as the oranges were very secure once they were placed on the twine.
- Once the lemons and limes have been added to the garland, tie a small bundle of flowers to each end. I believe this garland would be beautiful with flowers or bundles of mint tied and disbursed throughout.
How to Display Your Completed DIY Dried Lemon-Lime Garland
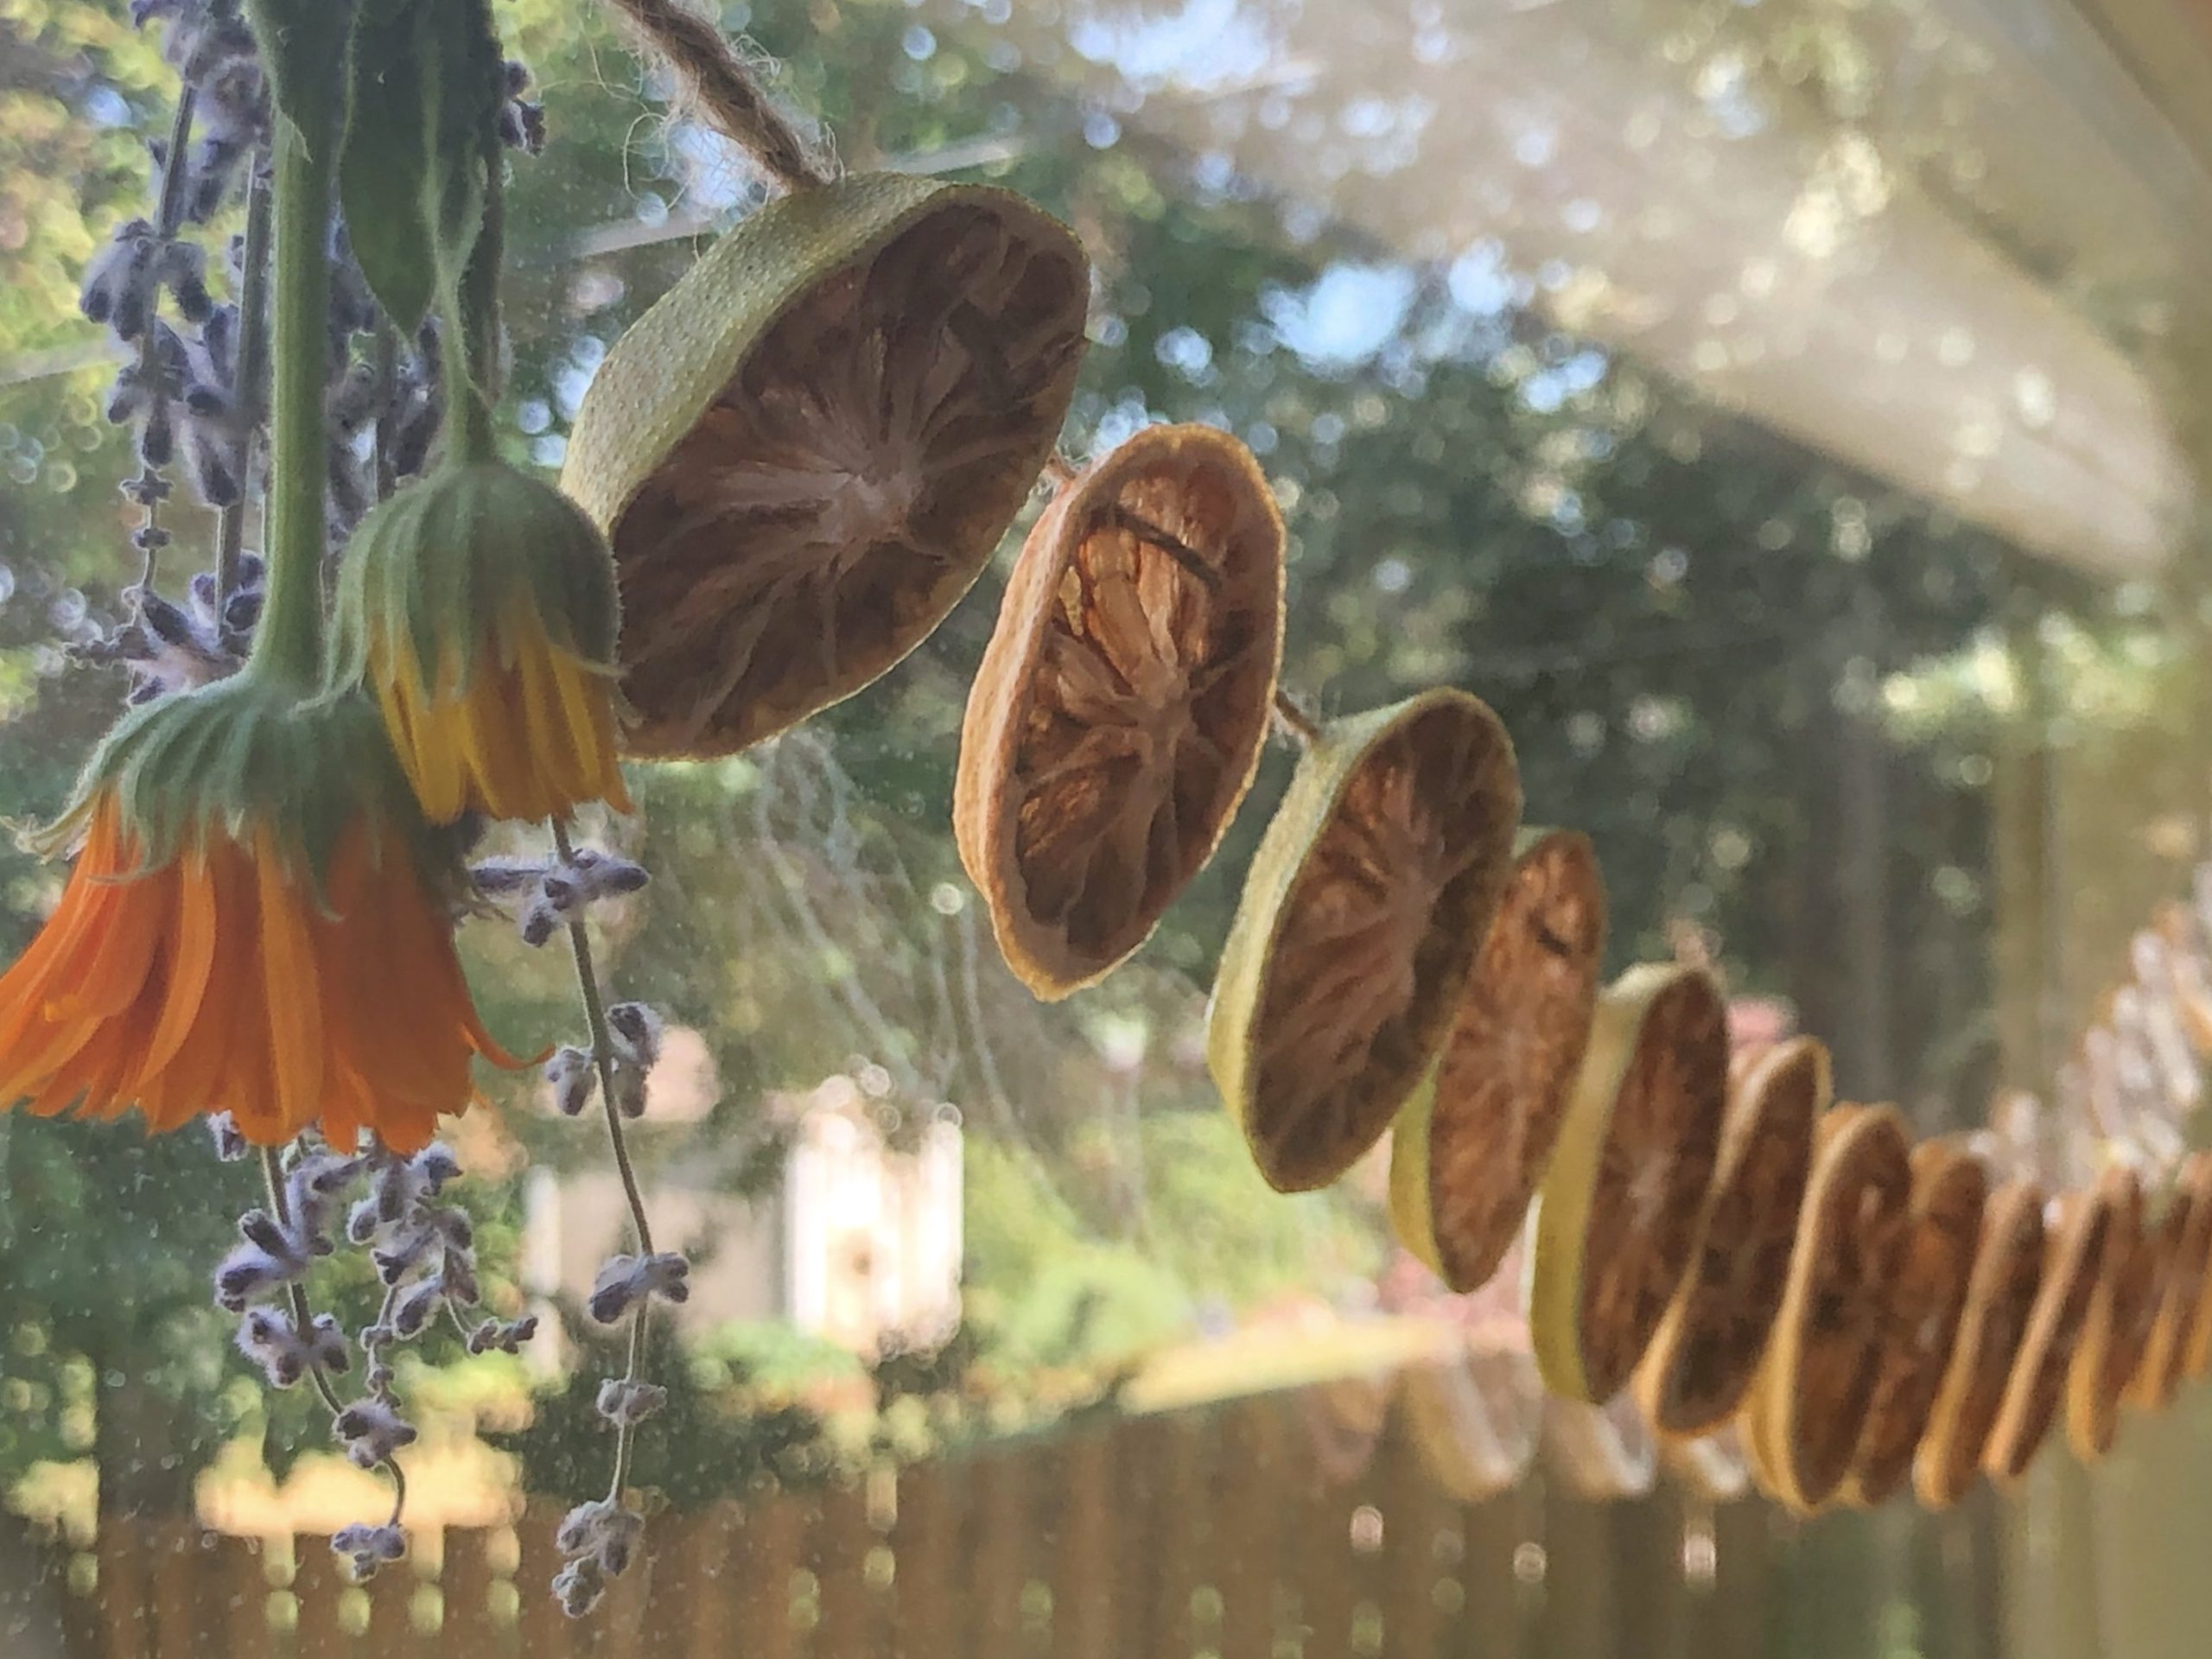
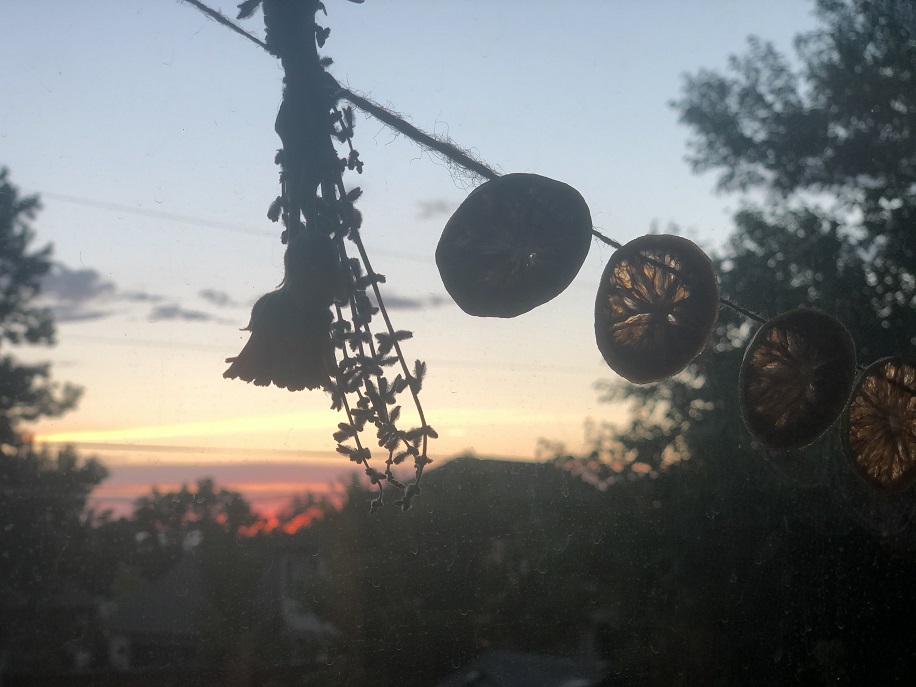
It’s time to hang your garland! We decided to hang our garland in our kitchen/family room window. We love how it turned out. The sun shines through in the afternoon and gives the citrus a nice warm glow.
To hang the garland, we used small clear plastic hooks that stick to the desired surface and can be easily peeled off. We purchased these for the first time about a month ago to hang some lights in my daughter’s room. They are great!
I wish I had them for my holiday garland. That was a tricky one to keep up on the mantle. The spring/summer garland would look nice on a mantle as well.
At the end of the season, the DIY Dried Lemon-Lime Garland can be kept in storage for the following year or it can be composted when the garland is no longer needed.
Please share pictures of your DIY Lemon-Lime Garlands in the comments below. I would love to see how they turn out and how you displayed them in your home.
