DIY Oat Milk – Quick and Affordable
Oat milk has become popular over the last year or so and, until recently, I had yet to try it. I have had oats in my cupboard for quite some time with a plan to whip up a batch of my own but hadn’t accomplished that task, until now.
I began my dairy-free journey around 13 years ago when we found out that our infant daughter may have a dairy sensitivity or allergy and I had to eliminate dairy from my diet while I was nursing her. This was quite the challenge as I had never had to eliminate anything from my diet before. I had to eliminate soy as well, but I made it work and began to experiment with cooking different recipes and learned which dairy-free options I liked best.
Fast forward 5 years and after a visit to my doctor, she suggested I eliminate certain foods from my diet to hopefully pinpoint the cause of my stomach pain and dairy was on the list. I do prefer to eliminate certain dairy products from my diet as I do feel it helps to relieve my symptoms. I have experimented and cooked this way by choice over this long period of time and I truly enjoy learning and creating new recipes.
We did reintroduce dairy into our daughter’s diet when she turned one and she seemed to tolerate it well but after a recent doctors visit, it was suggested that she eliminate dairy from her diet for two weeks to see if it helps with some of her tummy troubles and I thought this would be the perfect time to make oat milk!
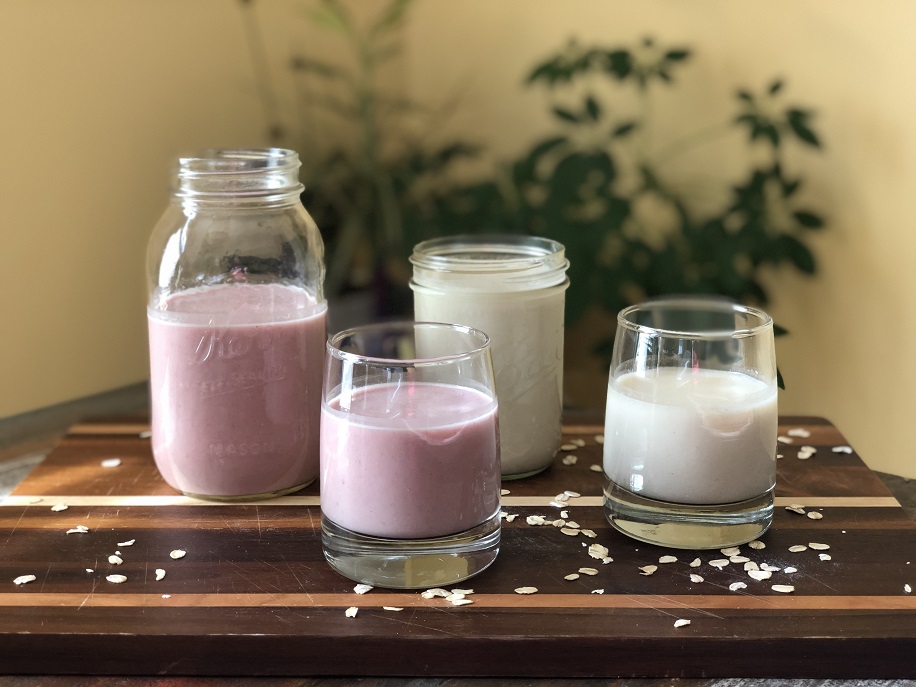
Through much oat milk research and a few trials later, we found a system that worked best for us with the appliances and supplies we had on hand. I adapted this recipe from many different online versions and we made a second batch for my daughter with her special request and idea to make strawberry oat milk. Which was definitely her favorite. It didn’t last long!
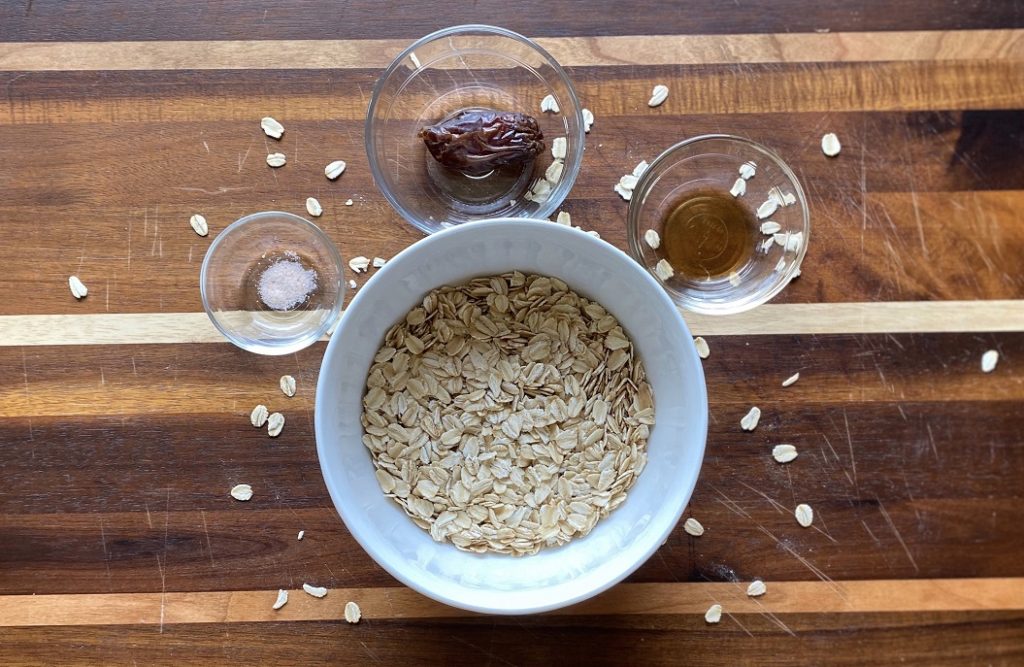
Table of Contents
Oat Milk Benefits
- Dairy-free, nut-free, and gluten-free (when using certified gluten-free oats).
- Quick to make and affordable.
- Lower saturated fat content.
- High in healthy carbohydrates
- More fiber than most dairy-free alternatives.
- Low water footprint compared to cows milk and other dairy-free milk alternatives.
- Lower greenhouse gas emissions to produce compared to cows milk.
- For more food and nutritional science information click here.
Oat Milk Tips
- Oat milk does have more of a distinct flavor compared to other dairy-free alternatives It does taste like smooth creamy oatmeal as you would suspect, where almond milk has more of a neutral flavor. It is great in cereals, coffee, tea, smoothies, smoothie bowls, baked goods, etc. Try our Superfood Breakfast Cereal recipe. We use DIY oat milk in the recipe and it is delicious and healthy!
- It is best consumed when chilled.
- Do not soak the oats before blending. In my experience, soaking the oats prior made for a much more slimy consistency.
- It is not recommended that you heat DIY oat milk directly. It may be added as is to coffee, tea, and baked goods. If you heat it, it will become thick and have a more sticky texture.
- Store for up to 5 days in a sealed container in the refrigerator.
- If you prefer your oat milk sweet, add dates or maple syrup.
- We recommend using a pinch of salt to enhance the flavor.

DIY Oat Milk – Quick and Affordable
Ingredients
Equipment
Method
- Blend Medjool dates and water. Do this step first to avoid over blending the oats in step two. Use 2 dates or 2 Tbsp of maple syrup if you prefer sweeter milk. Use 2 cups of water for a creamier texture and 3 cups if you prefer a thinner consistency.
- Add the oats, vanilla, and salt and blend for 15-30 seconds. Do not over blend as it may make your oat milk a bit slimy in texture.
- Strain the oat milk into the medium-sized bowl to your desired consistency. You may need to strain 2-3 times. Use a fine-mesh strainer if you have one. This method worked best for us. I also used cheesecloth and the squeezing process created a very slimy texture and it definitely creates a lot more work and frustration. If you do not mind the leftover oat flakes in your milk, you may skip this step and increase your fiber content!
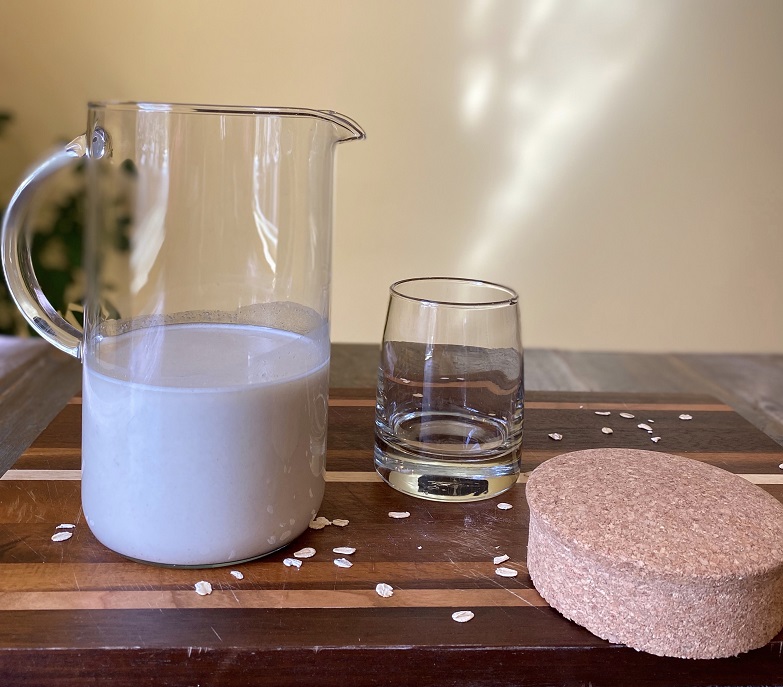
- Pour into a sealed glass mason jar or pitcher with a lid. Store in the refrigerator for up to 5 days.
- Chill and Enjoy
Notes
Strawberry Oat Milk
Add 1 cup of thawed frozen strawberries or 1 -2 cups of fresh strawberries. Blend with the ingredients in step two above. That’s it! Super healthy and delicious!Chocolate Oat Milk
Add 2 Tbsp cocoa or cacao powder. Blend with the ingredients in step two above. Yum!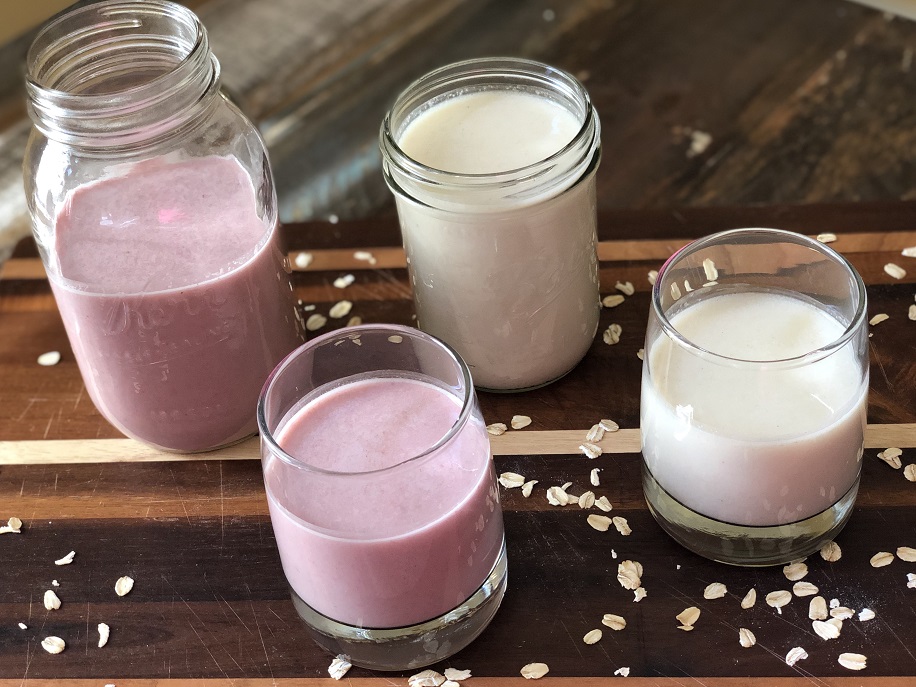
We hope you enjoy this DIY Oat Milk recipe as much as we do. Please share and let us know what you think!
Try DIY Oat Milk in our latest Superfood Breakfast Cereal Recipe found here. It is a delicious, healthy, homemade way to start your day!
